Hello everyone welcome to my editingquest my name is suresh and today i'm going to share with you 10 easy steps that will take your phone food photography to the next level. Let's start!

10 Tips for #food photography with phone.
 |
#food photography |
1. Light👇
Tip number one is watch your light. Light is very important in any type of photography, actually photography is all about light but for phone food photography you do not want to use flash or the room light. You don't want to ruin your photos. What you need is a nice soft even light. Where you can get that? You can get it from your windows. Find an ice window away from the direct sunlight and place your food on a table on a chair next to that window and start shooting. What's going to happen is the side of the dish closest to the window will be bright while this side far away from the window will be dark with a lot of shadows If you like the look like this keep it like this. If you don't like it and you want to make it a little bit brighter on the side that is far away from the window you can either use a reflector like this one,and if you don't have something like this you can use simply a white paper and that is it for tip number one.
2.Composition and Styling👇
Tip number two, and that would be composition. Actually it would be composition and styling. I'll start with the styling first.
- Styling👇
what we need to do is mainly just show the dish or the food that you cooked in the best way possible. We want to make it look like appealing,delicious, fresh, colorful. We want to show the ingredients in the dish so you don't really want to place the dish on a busy distracting table or a distracting setup. You need to keep it simple,keep it pretty, keep it basic. The star of the table is your dish not what's around it so you can have your plate with few items next to it maybe to show the ingredients of that dish. For example we would be using a lot of this apple pie photos that I took earlier it's a pie. I need to show the people what's inside that pie and that is an apple so I just place an apple next to it. I did not put next to it beef or chicken or fish or chocolate. It's an apple pie so it's a pie and there's an apple next to it. You got the idea! The second point I want to talk about in the second tip is composition.
 |
#food photography |
- Composition👇
Composition simply means where to place the plate in your photo. OK, so what we do is we activate the grid on your phone so when you switch on your camera and the grid is activated, you're going to see those four lines intersecting in four points.
- The rule of thirds 👌
What you need to do is just take a picture by placing your plate on one of those four intersecting points. Why do we do that?Psychology maybe. We as humans we usually look we're looking at the photo we look at those intersecting points. So to get your dish to be more appealing more attractive put it in one of those four intersecting points.
 |
#food photography |
- Triangular Composition🔺
Second point is or second technique is the triangular composition and that means simply if you have three plates let's say put them in a triangular shape next to each other the place might be of different sizes different colors make them look as if they are forming a triangle. And that's it for tip number two. The third tip I would like to share with you today is the shooting angles.
3.Shooting Angles👇
Shooting angles are mainly three - the main ones. Now probably you can have 600 other angles to shoot from but the main ones are three.
 |
#food photography |
- Top view angles👇
First one is the top view and mainly you're just looking on the food from above it's you're shooting parallel to the table showing the plate,showing the cutlery, showing the decoration around the plate and mainly this is used for flat food. Now you can ask me what is flat food?I'll explain with the second shooting angle and that is the front facing angle.
 |
#food photography |
- Front facing angles👇
Front facing angle is used for the food with layers such as a burger, a pile of pancakes and maybe a glass of juice. These things are shot facing it. Don't shoot it from above, if you're shooting a burger from above you're mainly just going to shoot the bun you're not gonna shoot the meat or the lettuce or the tomato or whatever comes in between. So two angles so far top view and front facing.
- 45° Angle👇
The third angle is the 45 ° is mainly how we see food as human and that is not really from top and not really facing but 45 degrees this is a good way of showing how the food is eaten,how it should be presented and maybe you can include a human element to this image. let's say somebody is holding a bowl of noodles or a bowl of rice and about to eat. That's it for tip number three.
4.Plating
Tip number four is plating. Plating is very important of course. You need the ingredients to be fresh you need them to be colorful but very importantly you need them to appear, you need them to be displayed nicely. So what you need to do is use a big plate and minimum serving inthat plate don't fill the plate up with food. Just small amount of food and give the food space to breathe. That's it for tip number four. Moving on to tip number five.
 |
#food photography |
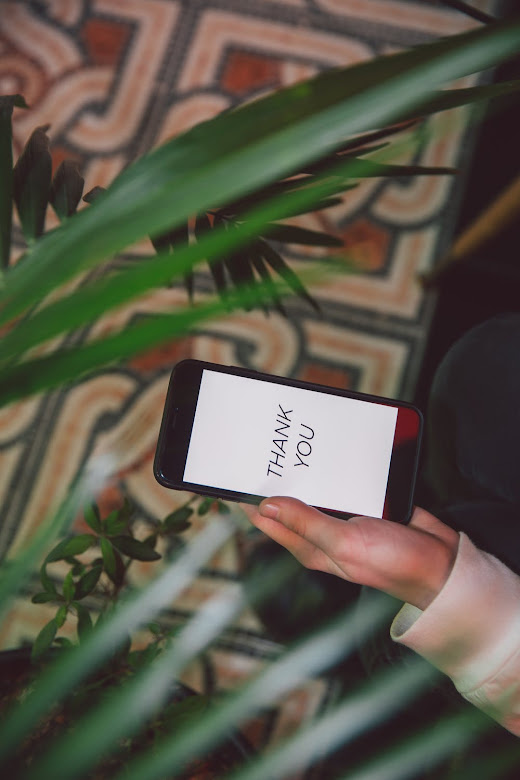
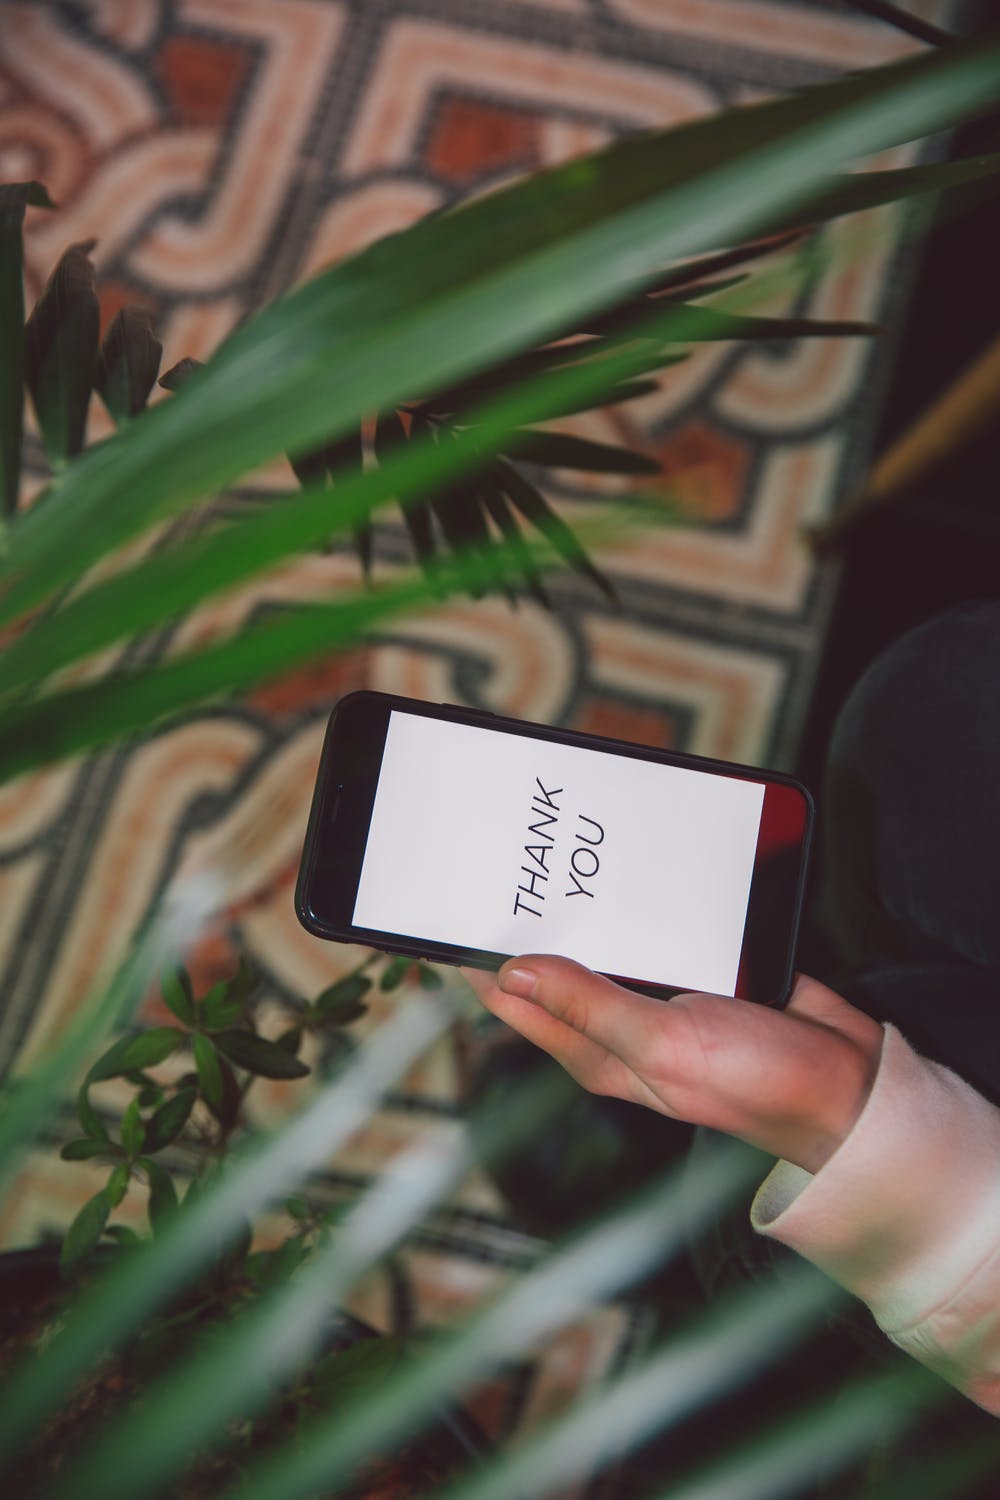
5.Humanelement👇
Tip number five is introducing a human
element.Introduce a hand, a face, a mouth eating the food to your image this will give it more life.
6.Introducing Cutlery👇
Tip number six is mainly introducing cutlery. Introducing a spoon, a fork maybe a knife even better if it is dirty meaning it's been used for serving it's not a clean shiny cutlery something that has been used. That is it for number six.
 |
#food photography |
7.Preparation and Ingredients👇
Tip number seven is shooting the preparation and shooting the ingredients of your dish. We don't always want to see the nice dish at the end when it's ready. Add more story to it, add more suspense. Show us how the dish was prepared in the kitchen, show us the ingredients being washed. That will make it very very interesting. That's it for tip number seven. Moving on to tip number eight. Tip number eight nine and ten are straight forward, quick but technical.
8.Clean your lens👇
Number eight is clean your lens. Before you start shooting please give that lens a wipe, it will make a huge difference to your photos.

9. Use external lenses👇
Number nine is experiment with other lenses. There are so many lenses out in the market, affordable. You can buy a kit that contains a zoom lens, fish eye lens, macro lens and you can attach it to your phone. Try one of those it will give you a different perspective of food shooting or any kind of photography.
10.Editing App👇
Number 10 is simply about editing applications. The editing apps for the phone. There are so many of them in the market and so many of them are free of charge. I would highly recommend Snapseed application .I would highly recommend it because i use it and I think it's very useful. Snapseed! That's all. These are my 10 tips for phone food photography.
If you have any questions please do let me know and i'll be more than happy to answer your questions. Until next time take care guys. Bye:)
Comments
Post a Comment
If you have any doubts.
Please let me know!!